You are viewing revision #2 of this wiki article.
This is the latest version of this article.
You may want to see the changes made in this revision.
This tutorial need extension mdmsoft/yii2-upload-file. Follow the intruction to install.
After installation done, create controller and action
// in controller
public function actionCreate()
{
    $model = new DynamicModel([
        'nama', 'file_id'
        ]);

    // behavior untuk upload file
    $model->attachBehavior('upload', [
        'class' => 'mdm\upload\UploadBehavior',
        'attribute' => 'file',
        'savedAttribute' => 'file_id' // coresponding with $model->file_id
    ]);

    // rule untuk model
    $model->addRule('nama', 'string')
        ->addRule('file', 'file', ['extensions' => 'jpg']);

    if ($model->load(Yii::$app->request->post()) && $model->validate()) {
        if ($model->saveUploadedFile() !== false) {
            Yii::$app->session->setFlash('success', 'Upload Sukses');
        }
    }
    return $this->render('upload',['model' => $model]);
}
Then in view upload.php
<?php

use yii\base\DynamicModel;
use yii\helpers\Html;
use yii\widgets\ActiveForm;

/* @var $this yii\web\View */
?>
<div>
    <?php
    $form = ActiveForm::begin([
            'options' => [ 'enctype' => 'multipart/form-data']
    ]);
    ?>
    <?= $form->field($model, 'nama'); ?>
    <?= $form->field($model, 'file')->fileInput(); ?>
    <?php if ($model->file_id): ?>
        <div class="form-group">
            <?= Html::img(['/file', 'id' => $model->file_id]) ?>
        </div>
    <?php endif; ?>

    <div class="form-group">
        <?= Html::submitButton('Submit', ['class' => 'btn btn-primary']) ?>
    </div>
    <?php ActiveForm::end(); ?>
</div>
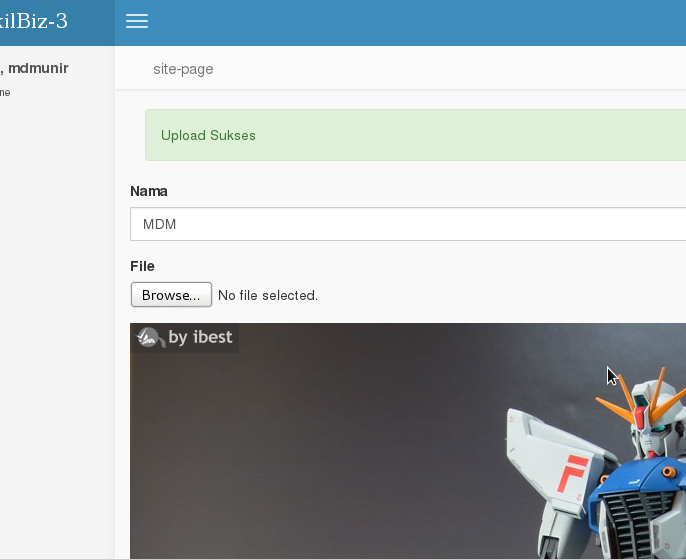
Its how its look like

If you have any questions, please ask in the forum instead.
Signup or Login in order to comment.