You are viewing revision #1 of this wiki article.
This version may not be up to date with the latest version.
You may want to view the differences to the latest version.
This tutorial need extension mdmsoft/yii2-upload-file. Follow the intruction to install.
After installation done, create controller and action
// in controller
public function actionCreate()
{
    $model = new DynamicModel([
        'nama', 'file_id'
        ]);

    // behavior untuk upload file
    $model->attachBehavior('upload', [
        'class' => 'mdm\upload\UploadBehavior',
        'attribute' => 'file',
        'savedAttribute' => 'file_id' // coresponding with $model->file_id
    ]);

    // rule untuk model
    $model->addRule('nama', 'string')
        ->addRule('file', 'file', ['extensions' => 'jpg']);

    if ($model->load(Yii::$app->request->post()) && $model->validate()) {
        if ($model->saveUploadedFile() !== false) {
            Yii::$app->session->setFlash('success', 'Upload Sukses');
        }
    }
    return $this->render('upload',['model' => $model]);
}
Then in view upload.php
<?php

use yii\base\DynamicModel;
use yii\helpers\Html;
use yii\widgets\ActiveForm;

/* @var $this yii\web\View */
?>
<div>
    <?php
    $form = ActiveForm::begin([
            'options' => [ 'enctype' => 'multipart/form-data']
    ]);
    ?>
    <?= $form->field($model, 'nama'); ?>
    <?= $form->field($model, 'file')->fileInput(); ?>
    <?php if ($model->file_id): ?>
        <div class="form-group">
            <?= Html::img(['/file', 'id' => $model->file_id]) ?>
        </div>
    <?php endif; ?>

    <div class="form-group">
        <?= Html::submitButton('Submit', ['class' => 'btn btn-primary']) ?>
    </div>
    <?php ActiveForm::end(); ?>
</div>
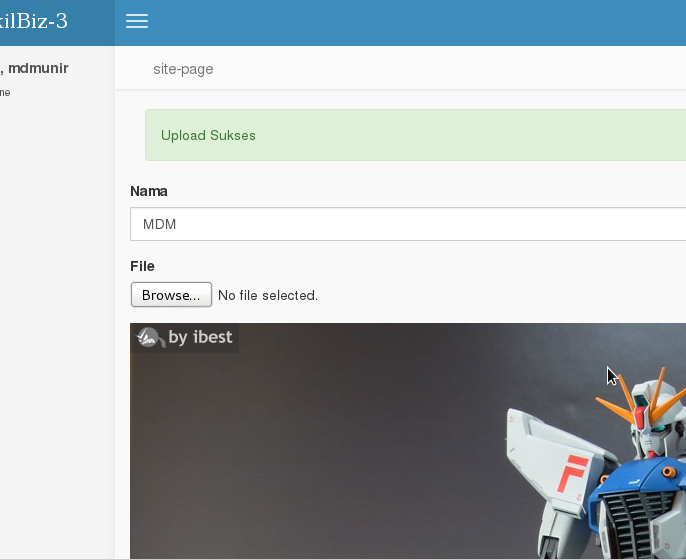
Its how its look like

If you have any questions, please ask in the forum instead.
Signup or Login in order to comment.